The Process Unveiled: Step-by-Step Guide to Tarmac Resurfacing
Introduction: Tarmac resurfacing is a popular and cost-effective way to rejuvenate and enhance the appearance of your driveway. If your driveway has seen better days and you’re considering tarmac resurfacing, understanding the step-by-step process can help you make informed decisions. In this blog post, brought to you by Harleston Driveway Installers, we’ll unveil the process of tarmac resurfacing, providing you with a comprehensive guide to transforming your driveway.
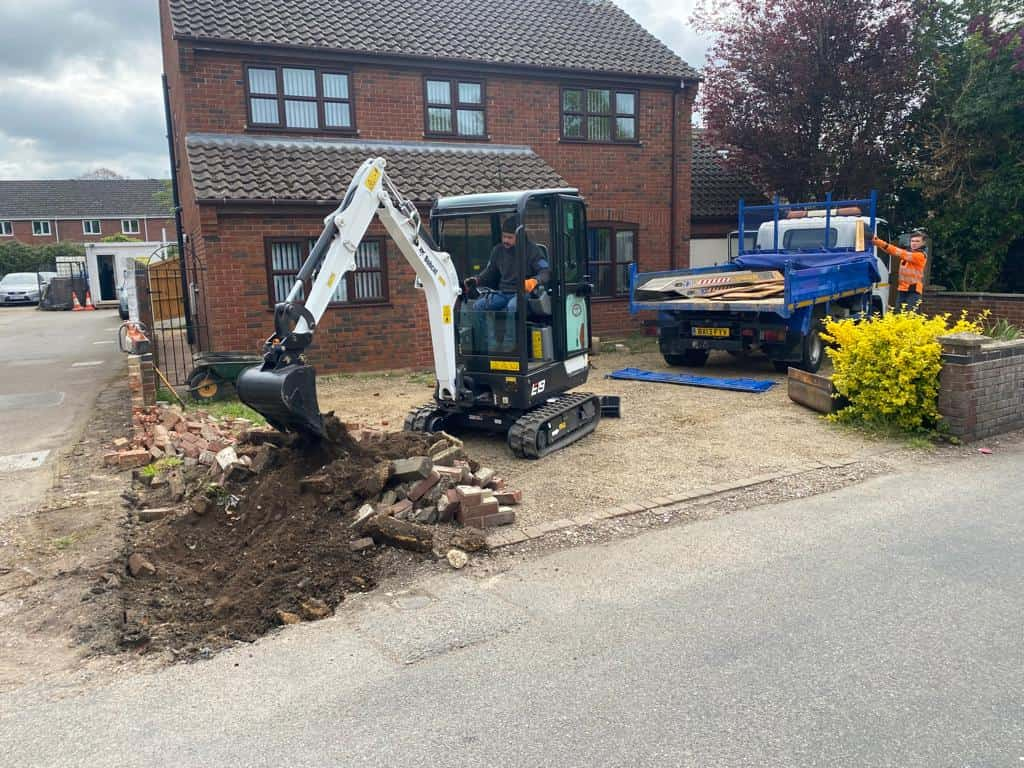
Step 1: Preparation
The first step in tarmac resurfacing is preparing the existing surface. This involves cleaning the driveway thoroughly to remove dirt, debris, or vegetation. Cracks and potholes are also filled and repaired to create a smooth and even base.
Step 2: Base Layer Installation
A base layer of coarse aggregate is laid down to provide a solid foundation for the tarmac. This layer is compacted to ensure stability and proper drainage.
Step 3: Binder Layer
Next, a binder layer of tarmac is applied. This layer acts as the adhesive that holds the final surface together. It’s spread evenly over the base layer using specialised machinery and compacted to the desired thickness.
Step 4: Surface Layer
The final layer of tarmac, the surface layer, is applied. This layer is smoother and finer than the binder layer, giving your driveway its finished look. Like the previous layers, it’s spread and compacted to achieve the desired thickness and a uniform appearance.
Step 5: Edging and Finishing
Edging is an important part of tarmac resurfacing. The driveway edges are neatened and sealed to create clean lines and prevent crumbling. Any excess tarmac is removed, and the surface is smoothed for a professional finish.
Step 6: Curing and Drying
After the tarmac resurfacing, the surface needs time to cure and dry. This allows the tarmac to harden and settle, ensuring its durability and longevity.
Step 7: Sealant Application (Optional)
Applying a sealant to the newly resurfaced tarmac driveway is an optional step to enhance its appearance and protect it from elements like UV rays, oil spills, and water damage.
Step 8: Final Inspection
Before considering the project complete, a final inspection is conducted to ensure that the resurfaced tarmac driveway meets quality standards and has been installed correctly.
Conclusion: Tarmac resurfacing is a multi-step process that transforms worn-out driveways into smooth, visually appealing surfaces. Each step is crucial in creating a durable and attractive driveway from preparation to final inspection. If you’re looking to enhance your property’s curb appeal and improve your driveway’s functionality, tarmac resurfacing is a practical and efficient solution. Harleston Driveway Installers’ expertise can guide you through the process, ensuring that your driveway receives the attention and care it deserves, resulting in a stunning transformation that enhances both the aesthetic and practical aspects of your home.
Call us on: 01379 778 393
Click here to find out more about Harleston Driveway Installers
Click here to complete our contact form and see how we can help with your driveway needs.